Breathtaking Info About How To Start Cvs Server

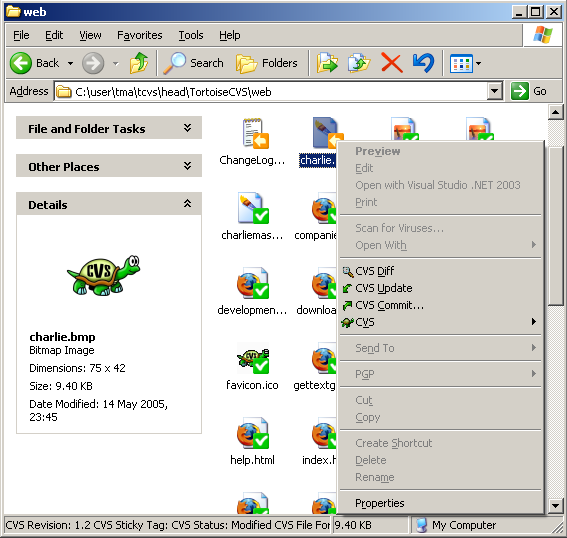
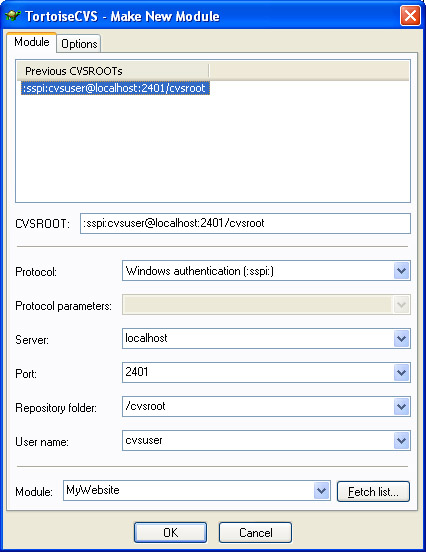
Tortoisecvs

Setting Up A Cvs Mirror With Rsync | Fisheye Server 4.8 Atlassian Documentation

Setting Cvs Server Options
Reference: How Do I Configure The Cvsnt Server? (magic Xpa 3.x)
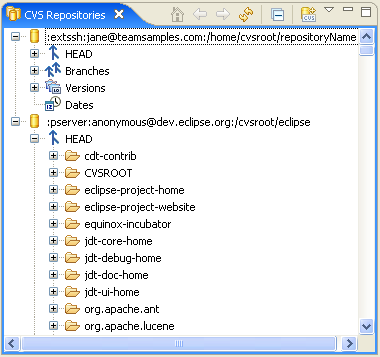
Cvs Repositories View
Understanding Cvs
After successful installation, launch cvsnt configuration utility.
How to start cvs server. Set the default repository in the environment (will save entering it on every cvs command): Now import the project to the repository: Create a tiny test project:
When clicked, an entry will be added to. Make a cvs root folder. After you install cvs, you should install xinetd to.
Open terminal and type following command. Open terminal and type following command. It will ask you to enter the user’s password to confirm your information.
# use=server emerge cvs # emerge cvsd that took care of the installation part. Create in /etc/xinet.d the file cvspserver with the following content: > cd > mkdir testproject > echo testing cvs server > testproject/readme.txt.
To make this as a cvs repository, you should initialize it as shown below. If the cvs server has not yet been set up on your system, a button labeled [setup cvs server] will be displayed at the bottom of the module's main page. You have a nice and operable cvs client (cvs), and the cvs daemon that will be running on your system in.
Initialize the cvs repository, currently the /home/cvs/project1 is just an empty directory. After you install cvs, you. This first command sets the cvsroot.
Once it invokes the server, the client proceeds to start the cvs protocol. It is, invoked with one argument, server. First of all you have to activate cvs service.
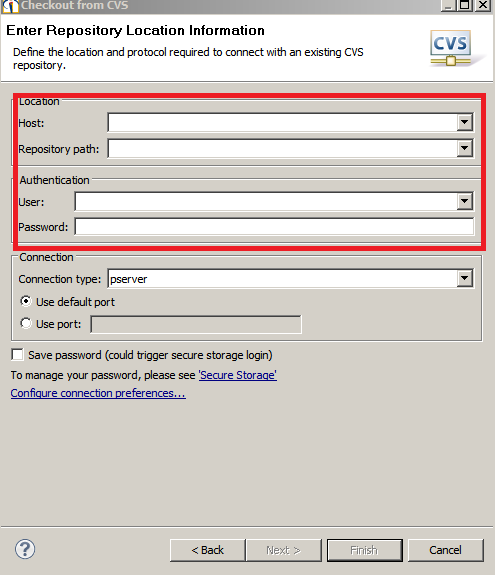
> cd testproject > cvs import. Then, we will use the following command line to start logging in to the cvs server: Export cvsroot=:pserver:username1@your_server_name:/usr/local/cvsroot (substitute real values.
# setenv cvsroot [email protected]:/mycompany # setenv cvs_rsh ssh as you can see we use ssh as the transport protocol. Go to www.cvsnt.org, select last stable release, download it. Set the default repository in the environment (will save entering it on every cvs command):
Concurrent Version System Cvs -- Howto
Installing A Cvs Server On Centos 8 | Ask-solutions

Ccvssh: Ext-to-pserver Ssl Bridge For Cvs

Cvs
Cvs
Cvs Server Configuration On Ubuntu And Checking Out Projects Into Itest.
Installing Tortoise Cvs - How To Set Up A Source Control On Windows Without Spending Dime.
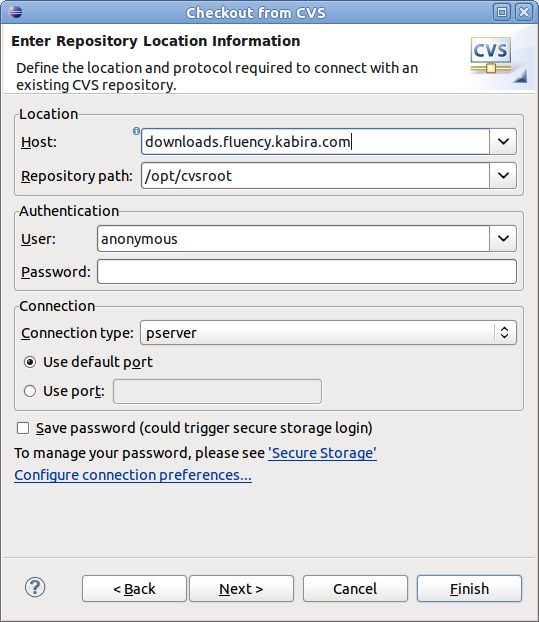
Check Out The Examples Source From Public Cvs Server
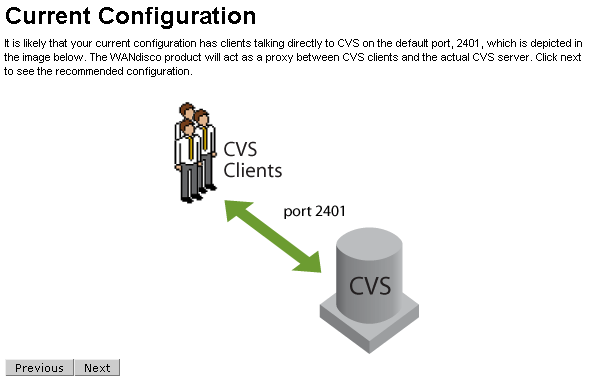
Wandisco Cvs Access Control 3.6.1 Admin Guide

Check Out The Examples Source From Public Cvs Server

Untitled Document
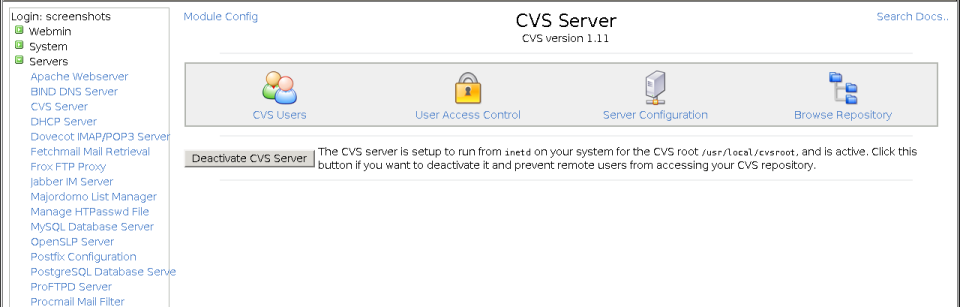
Cvs Server - Webmin Documentation
Login Cvs Server From Command Line - Huong Dan Java